This guide demonstrates how to create new services (e.g., consulting, treatments, workouts), configure their duration, prices, and set their online or physical presence type.
1. Prerequisite and Service Status
To configure services, it is essential that you have at least one active calendar.
- Missing calendar: If you don't have a calendar yet, the system will display a warning window, where you can create one by clicking the "Create Your First Calendar" button.
- Activation / Deactivation: Existing services can be turned on or off using the "Make Inactive" or "Activate Service" buttons in the header. Inactive services are saved as drafts and cannot be booked by clients.
- Deletion: A service can only be deleted in an inactive state by clicking the trash can icon. If the service has future bookings, the system will block the deletion for security reasons.
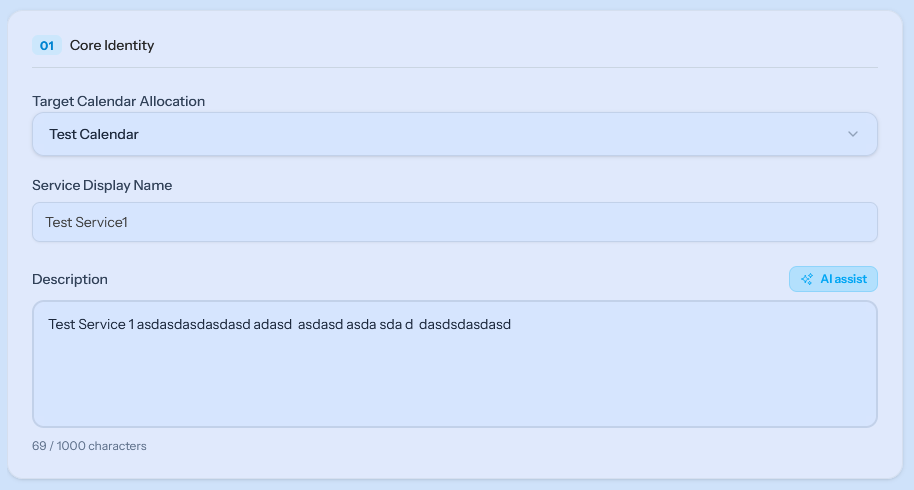
2. Basic Information
The first step in setting up your service profile is providing the basic identifiers:
- Target Calendar Allocation: Select from a drop-down menu which of your created calendars this service should be linked to.
- Service Display Name: This name will appear on the client-facing page (e.g., Premium Consultation, Personal Training).
- Description: A detailed overview of the service's content, which you can also generate with the help of the built-in AI assistant.
3. Duration and Booking Restrictions
Here you can control how long the service takes and how much time before the start the booking closes:
- Total Time Duration: Specify the length of the service in hours and minutes (minutes must be divisible by 5).
- Minimum Notice Lead time: Prevents last-minute bookings. You can set the minimum number of hours or minutes required between the moment of booking and the start of the appointment (e.g., if you specify 2 hours, a client cannot book a slot that is only 1 hour away from the current time).
4. Financial Settings
- Base Fee: Enter the price of the service here. If left empty, the system will automatically consider the service to be free and display it as such.
- Currency: Select the appropriate currency from the drop-down menu (e.g., HUF (Ft) or EUR (€)).
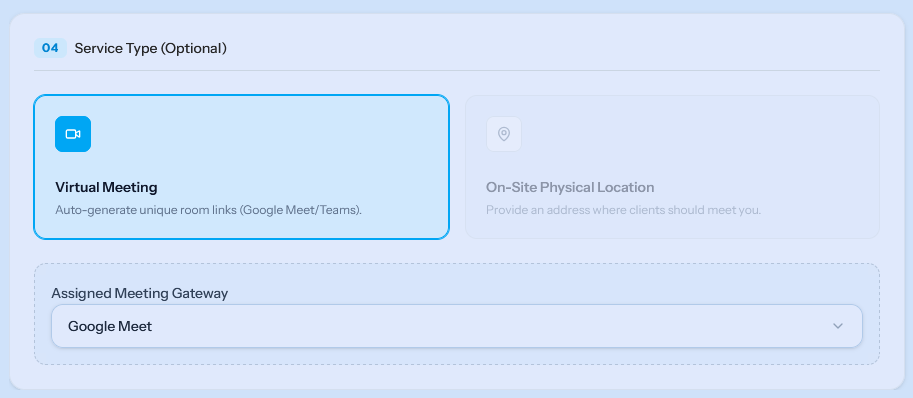
5. Service Type
You can specify the format of the meeting. The two options are mutually exclusive; only one can be active at a time:
A) Virtual Meeting
By selecting this option, the system will automatically create and send out unique video room links (Google Meet or Microsoft Teams) for the booking.
- If no accounts are connected: The system will notify you and redirect you to the third party apps page via the "Configure Connections" button.
- Select meeting gateway: If you have already integrated both Google and Microsoft on the external apps page, you can choose from a drop-down menu whether Google Meet or Microsoft Teams should generate the links.
- Warning: An active Microsoft 365 business subscription is required for Microsoft Teams enterprise features.
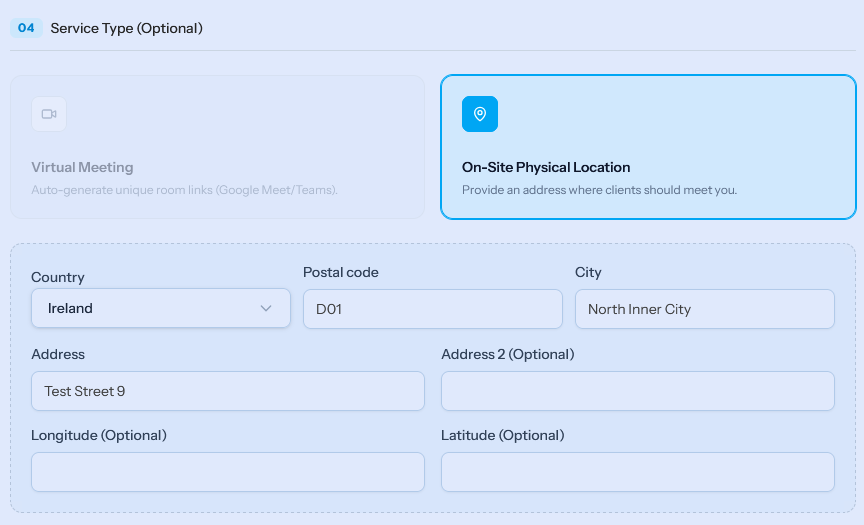
B) On-Site Physical location
If you activate this option, you can provide the exact physical address where your clients need to arrive.
- The appearing mandatory fields include Postal Code, City, and Address.
- Optionally, you can record GPS coordinates for more accurate map searches.
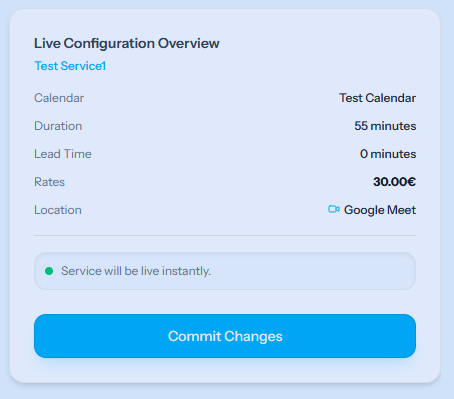
6. Live Overview and Saving
A Live Configuration Overview panel accompanies your work on the right side of the screen (or at the bottom of the page on mobile). This shows the most important details of the service in real time:
- Which calendar it is assigned to.
- Its duration and preparation time.
- How much it costs, and exactly where or on which platform it will take place.
To finalize the settings, click the "Commit Changes" button at the bottom of the panel, and the system will immediately publish the service or save it as a draft.